INDEX
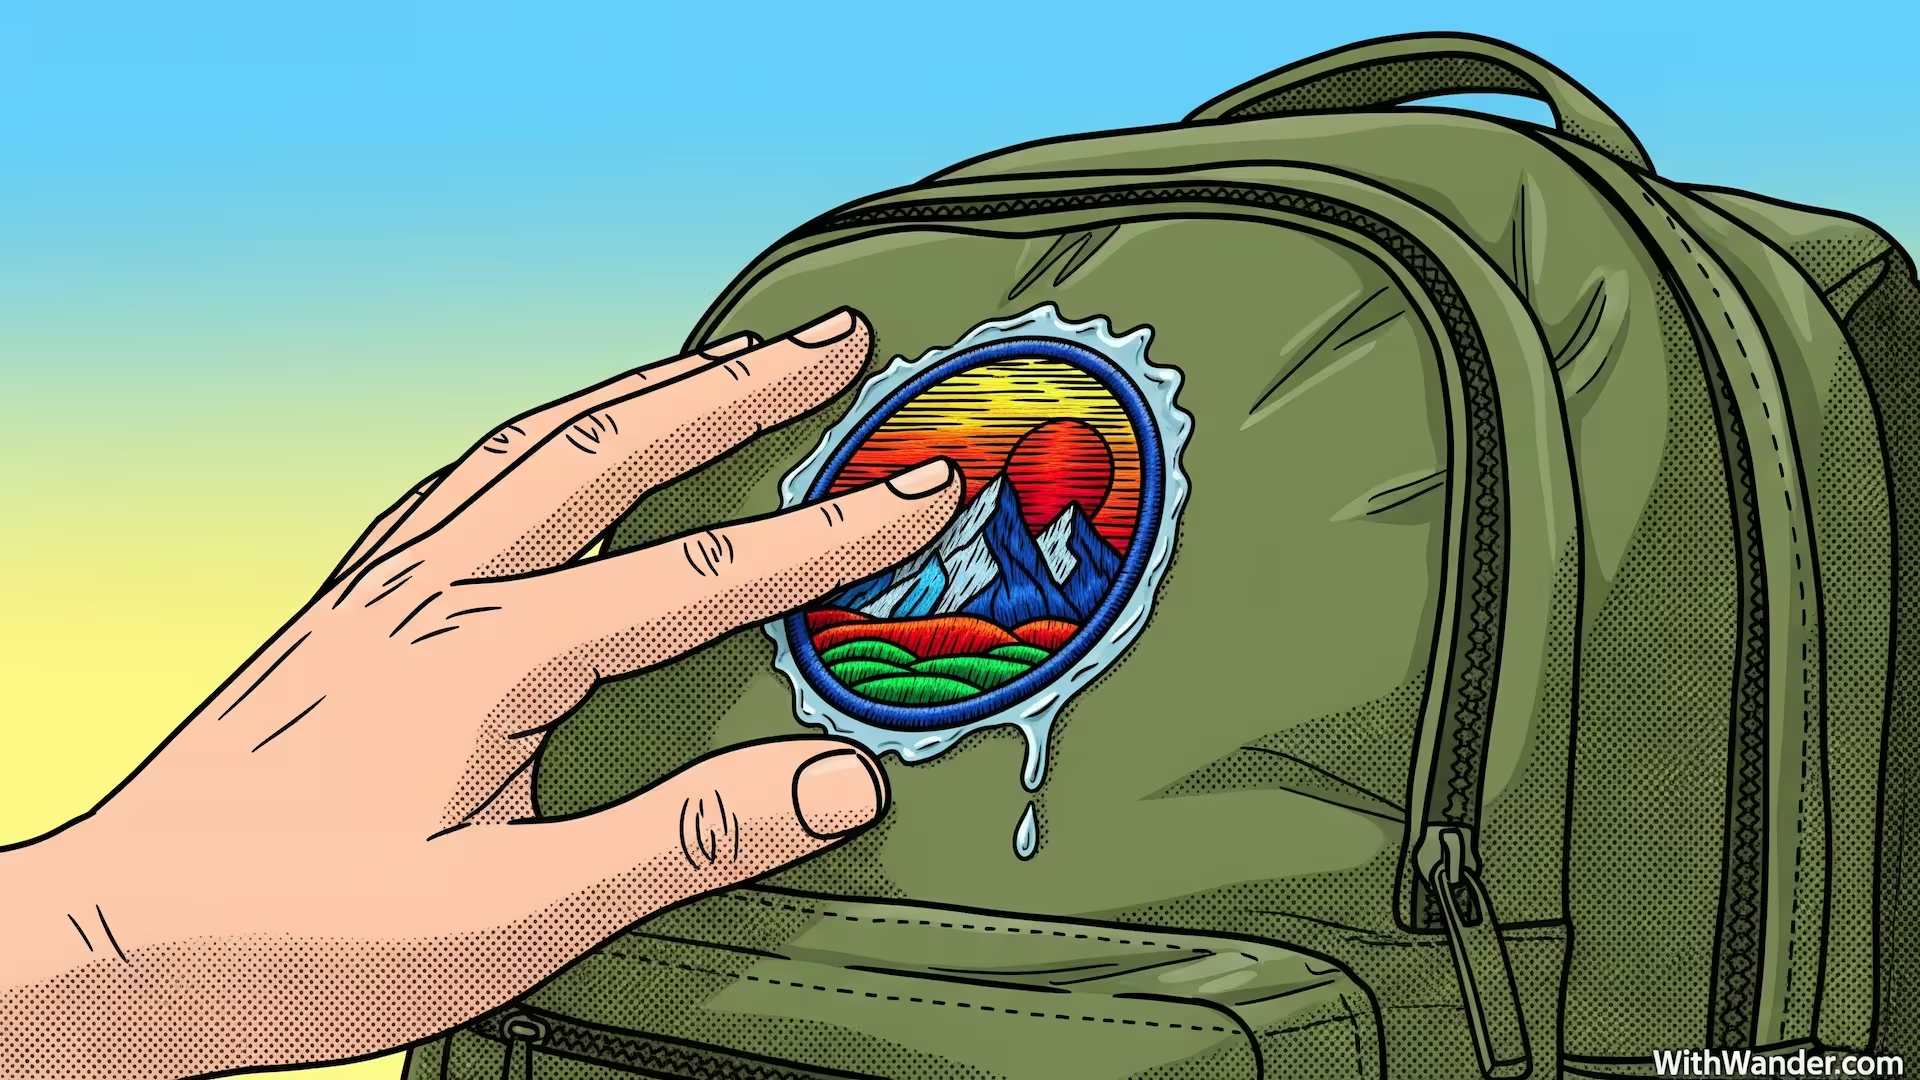
The cheap patch from a street stall in Hanoi was peeling. One corner flapped with every step I took through the humid air of the Cat Ba ferry terminal.
I’d used the wrong glue, in the wrong weather, on the wrong spot. This was my first real attempt at gluing patches on backpack fabric, and it was a failure.
That small annoyance taught me more than any guide could. Your backpack becomes a canvas of your travels, and each patch tells a story.
But keeping those stories attached requires more than just hope and a tube of random adhesive.
Through trial, error, and some very sticky fingers, I’ve learned the practical lessons that make patches stick for good. Here are the seven things you need to know before you start.
The Core Lessons of Gluing Patches on Backpack
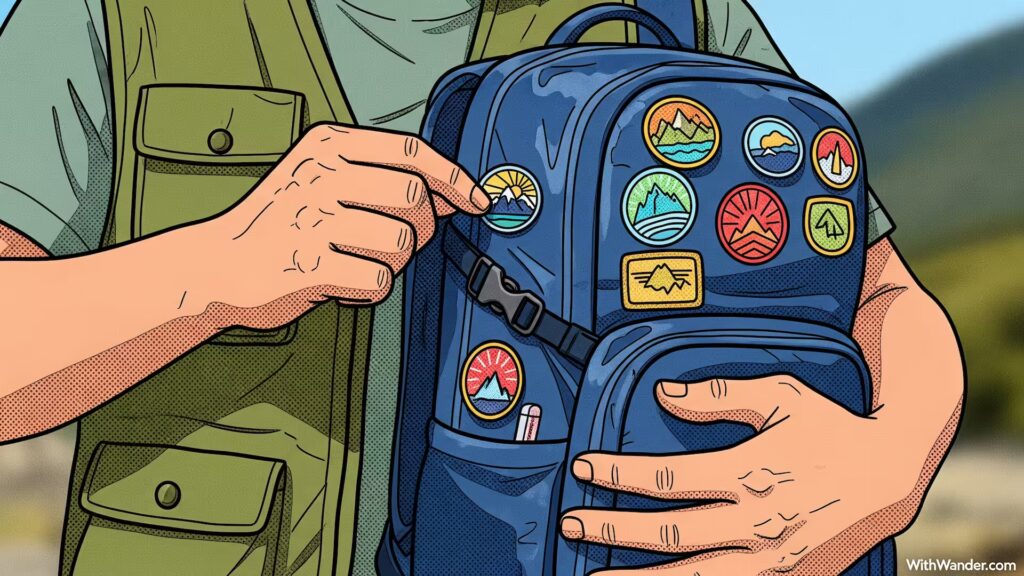
Personalizing your gear is a big part of the backpacking life. It makes your pack uniquely yours. But when it comes to attaching patches, the method you choose determines whether they become a permanent badge of honor or a lost souvenir.
These lessons come from my own experiences on the road, from rainy treks in Colombia to dusty bus rides in Morocco. They cover the right materials, the best techniques, and the common mistakes to sidestep.
Lesson 1: Not All Glues Are Created Equal
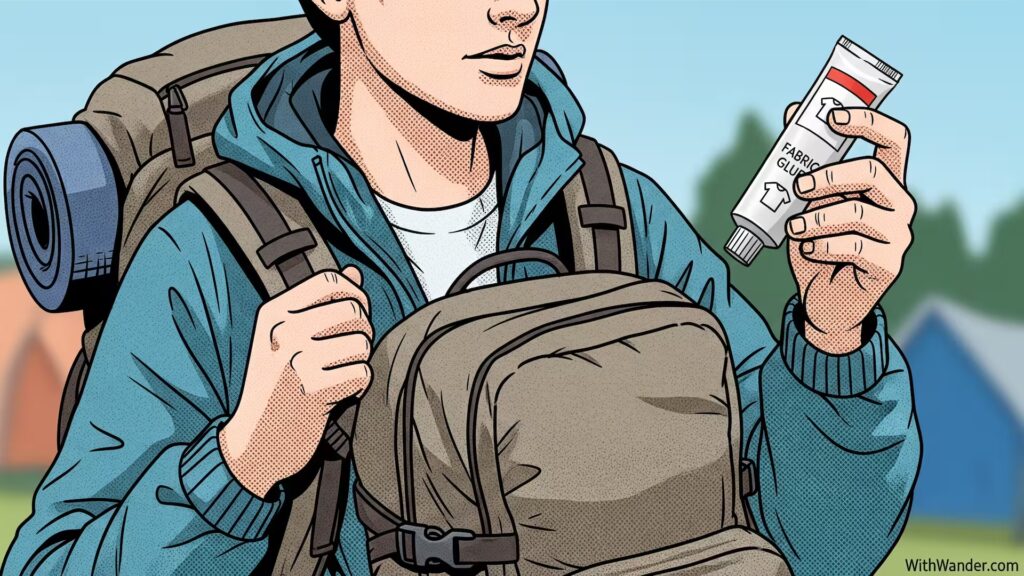
My first mistake was grabbing a generic “super glue” from a corner store. It dried stiff, cracked within a week, and left a nasty white residue on my pack. The biggest takeaway is that the type of adhesive you use is the single most important factor.
You need something that is both strong and flexible. A rigid bond will fail the moment your backpack bends or gets stuffed into an overhead bin. Look for adhesives specifically made for fabrics, especially outdoor or heavy-duty materials. They are designed to move with the textile.
Flexible Fabric Adhesive is your best friend here.
Brands like Gear Aid or Gorilla Fabric Glue work well.
Look for “waterproof” on the label, it’s a must.
It dries clear and won’t make the fabric brittle.
Standard Super Glue (cyanoacrylate) is too brittle for fabric.
Hot glue guns seem easy, but the bond is weak and peels in the cold.
Basic craft glue is not waterproof and will wash away.
Avoid anything that isn’t made to bend and flex.
Lesson 2: Your Backpack’s Material Matters Most
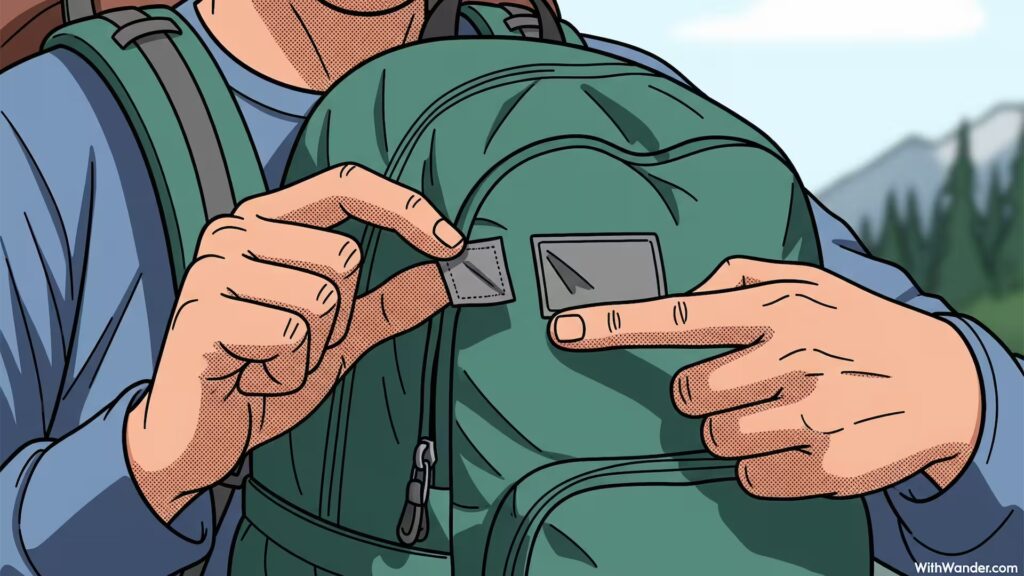
Backpacks are not made of simple cotton. Most modern packs, like those from Osprey or Deuter, are built from synthetic materials like ripstop nylon or Cordura. These fabrics have special coatings for water resistance (DWR – Durable Water Repellent).
These coatings are designed to repel things, and that includes glue. Aggressive adhesives can even damage or dissolve these coatings, compromising your bag’s weather protection. This answers a common question: will fabric glue damage an osprey bag? A gentle, flexible fabric glue won’t, but a harsh chemical solvent might.
Always test your glue on a hidden spot first, like the inside of a pocket, to see how the fabric reacts.
⚠️Test Before You Trust
Never apply a new glue directly to a visible part of your pack. Find a hidden area, apply a tiny dot, and let it dry for 24 hours. Check for discoloration, fabric damage, or a weak bond before committing to your patch.
Lesson 3: Preparation Is 90% of the Work
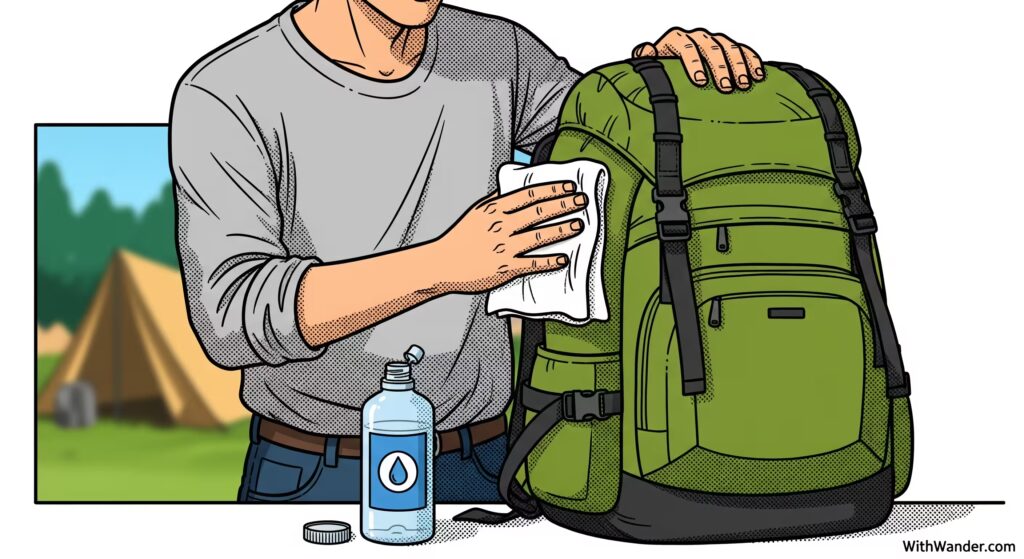
A clean surface is a sticky surface. Dust, oil from your hands, and dirt will prevent even the best glue from forming a strong bond. My peeling Hanoi patch failed because I applied it on a dusty bag in a hurry.
Taking ten minutes to prepare the area properly will save you the frustration of losing your patch mid-trip. This is the most-skipped step, and it’s also the most important for a lasting application when gluing patches on backpack surfaces.
Here is the exact preparation checklist I follow now for every patch.
First, clean the backpack area with a damp cloth.
Let it dry completely, don’t rush this part.
Wipe both the pack and the back of the patch with rubbing alcohol.
This removes any oils and makes the surface ready for glue.
Lesson 4: The No-Sew Method Is a Skill
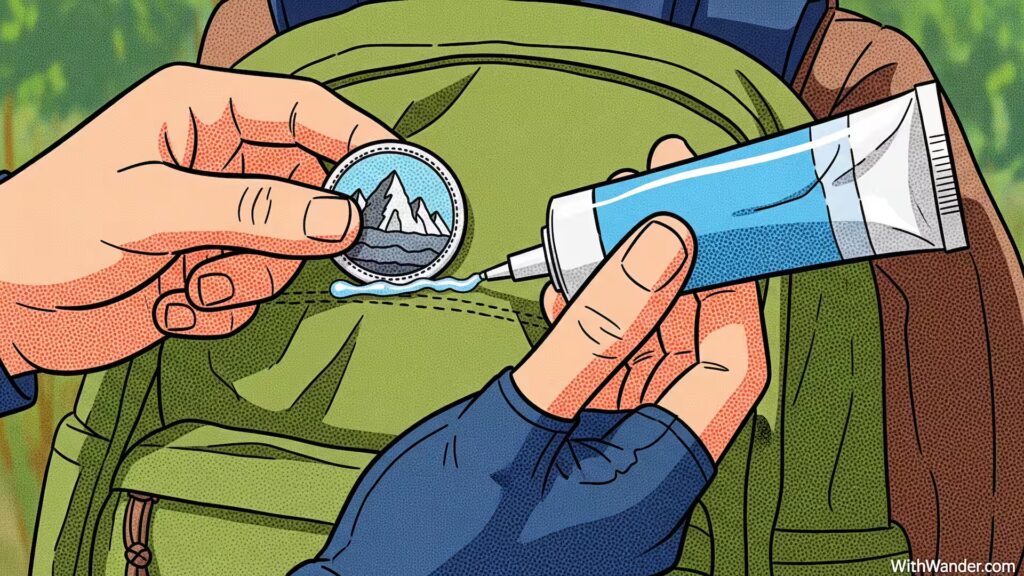
Knowing how to attach patches without sewing them is a great skill on the road. The trick is in the application technique. It’s not just about squirting glue on and pressing down.
I’ve found the best method is to apply a thin, even layer of glue to the back of the patch, paying special attention to the edges. Then, apply a very small amount to the backpack surface itself. This two-sided application creates a much stronger connection.
🌍The Pressure & Curing Technique
After placing the patch, cover it with a piece of wax paper (so glue doesn’t seep through and stick). Then, place a heavy, flat object like a book on top of it. Leave it undisturbed for at least 24 hours. Curing time is your best friend for a permanent bond.
Once the patch is positioned, applying consistent pressure while the glue cures is key. Don’t just press it with your hands for a minute. The glue needs time to set under weight.
Lesson 5: Do Glued On Patches Fall Off Easily? Yes, If You Rush.

This is a question I get a lot. The honest answer is that do glued on patches fall off easily? They absolutely can. Mine have. They fail for predictable reasons: improper glue, poor surface prep, or not allowing enough curing time.
Humidity is a major enemy of a fresh glue job. I once applied a patch in the damp air of coastal Ecuador, and the edges started to lift within days because the moisture in the air interfered with the curing process. If possible, apply your patches in a dry, indoor environment.
- Common Failure Point:Too much flex. Avoid placing patches directly over seams or on parts of the bag that bend constantly.
- Common Failure Point:Not enough glue on the edges. Focus application on the outer 5mm of the patch back.
- Common Failure Point:Washing the pack too soon. Wait at least 72 hours before the area gets wet.
Lesson 6: The “Iron-On” Patch Deception
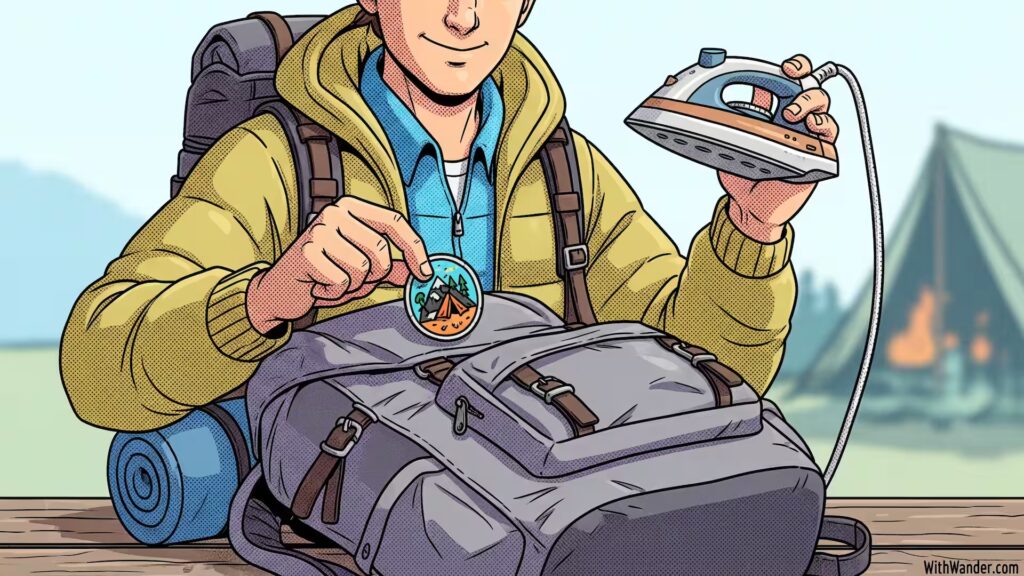
Many patches you buy are “iron-on” style, with a heat-activated adhesive on the back. This seems like an easy solution, but it’s a trap for synthetic backpacks. The high heat needed to activate the glue can melt or weaken the nylon fabric of your pack.
I learned this the hard way, leaving a subtle but permanent shiny mark on an old pack. You can still use these patches, but not with an iron. Instead, use the iron-on backing as a good surface for your fabric glue.
My current hybrid method is the most reliable. I still use a flexible fabric glue on iron-on patches, completely ignoring the heat-activated layer. The texture of that layer can actually help the fabric glue grip better.
💡The Hybrid Method for Iron-On Patches
For an iron-on patch, apply flexible fabric glue directly to the heat-activated backing. This gives you the best of both worlds: the sturdiness of the patch and the flexible, waterproof bond of the right glue, without risking heat damage to your gear.
Lesson 7: When to Surrender and Just Sew
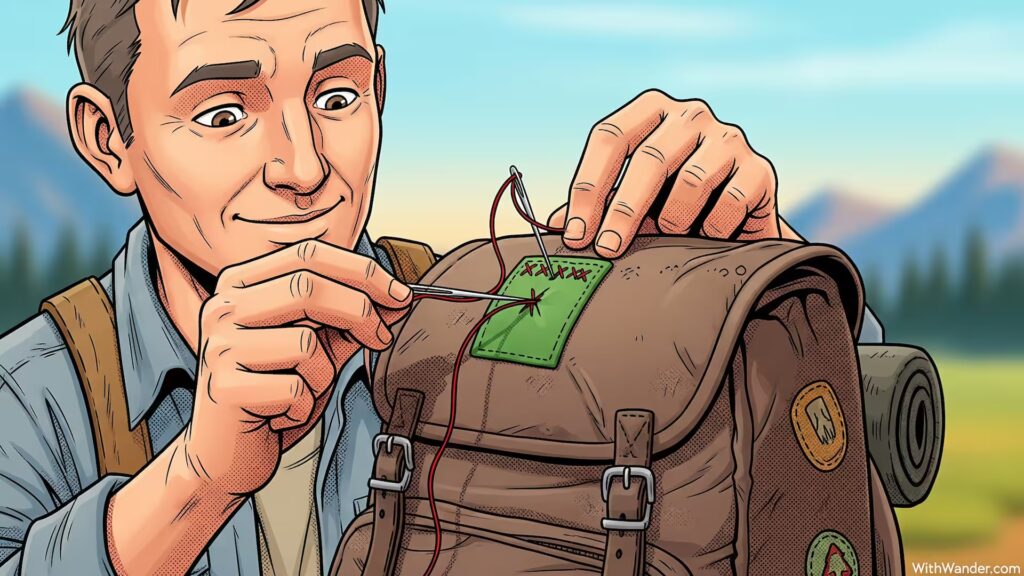
After all this, sometimes glue isn’t the answer. For very thick, heavy, or leather patches, glue alone may not be strong enough to hold the weight. The same goes for patches on high-stress areas, like near shoulder strap attachments.
Knowing when to switch tactics is a sign of experience. Carrying a small, simple sewing kit is a good idea for any long-term traveler, just as crucial as preparing house for long trip before you depart. A few simple stitches around the edge of a glued patch can provide mechanical strength that glue can’t match, ensuring it will never fall off.
A small travel kit is all you need for this.
Get one with a sturdy needle and some upholstery thread.
Upholstery thread is much stronger than regular cotton.
You can find these kits online for just a few dollars.
FAQs: Your Questions on Gluing Patches on Backpack

I’ve gathered some of the most common questions I hear about this topic. Here are some quick answers based on my experience.
What is the best glue for attaching patches to a backpack?
The best choice is a flexible, waterproof fabric adhesive. I’ve had great success with brands like Gear Aid Fabric Repair Adhesive or Gorilla Waterproof Fabric Glue. The key is to find a glue that stays pliable after it dries.
Can I use super glue on my backpack?
I strongly advise against it. Standard super glue (cyanoacrylate) creates a brittle bond that will crack and fail when the backpack fabric flexes. It can also leave a chalky white residue that is impossible to remove.
How long do glued-on patches last?
If you use the right glue and follow all the preparation and curing steps, a glued-on patch can last for years. My oldest glued patch has survived three years of travel. Rushing the process is what causes them to fail quickly.
Will gluing a patch void my Osprey warranty?
This is a good question. According to most manufacturers’ policies, including Osprey’s All Mighty Guarantee, cosmetic alterations that don’t affect the function of the pack are usually fine. However, if the glue you use causes damage to the fabric or seams, that damage would not be covered. Using a gentle, removable fabric glue is the safest bet.
How does the waterproof coating on my backpack affect gluing patches?
The Durable Water Repellent (DWR) coating on most modern backpacks is designed to make water bead up and roll off. Unfortunately, it also repels adhesives, making it harder for glue to form a strong bond. This is why thoroughly cleaning the area with rubbing alcohol is a critical step; it removes surface oils and contaminants, helping the glue adhere directly to the fabric fibers.
Why is cleaning the area with rubbing alcohol so important before applying a patch?
Rubbing alcohol acts as a degreaser. It removes invisible oils from your hands, dust, and microscopic dirt that can prevent the glue from making a solid connection with the backpack fabric. Skipping this step is one of the main reasons glued patches fail and start peeling at the edges.
Where are the worst places to put a patch on a backpack?
Avoid placing patches directly over seams, on flexible parts like a roll-top closure, or on mesh pockets. These areas experience constant stress and movement, which will weaken the glue bond and cause the patch to peel off much faster than if it were on a flat, stable panel like the front pocket.
Do I really need to press the patch with a heavy object for 24 hours?
Yes, this step is crucial. Applying consistent, even pressure while the glue cures ensures the adhesive fully bonds across the entire surface, especially at the edges. Simply pressing it with your hands for a few minutes isn’t enough and often leads to the edges lifting later on.
Can I use an iron-on patch without glue?
I strongly advise against using an iron directly on a synthetic backpack. The high heat required to activate an iron-on patch can easily melt, weaken, or discolor the nylon or Cordura fabric of your pack, causing permanent damage. It’s much safer to use a flexible fabric glue on the back of an iron-on patch.
